REVIEW · NAPIER
Shore Excursion: 4 Hour Premium Hawke’s Bay, Napier Art deco Tour
Book on Viator →Operated by Hawkes Bay Scenic Tours · Bookable on Viator
Napier always hits different after you learn the story. This 4-hour shore excursion strings together Art Deco Napier, Hawke’s Bay views from Te Mata Peak, and a quick slice of Hastings culture—perfect when you’re short on time. I especially like the “see it all fast” routing and the way the guide turns viewpoints into real local context; the only thing to watch is that it’s a drive-heavy day with brief stops, so it’s not for people who want long, slow wandering.
You’ll roll through Napier’s rebuilt-after-the-earthquake look, taste honey at Arataki, then go up to sweeping 360-degree scenery on Te Mata Peak. It’s also pitched as a small group cruise-friendly tour (up to 22), and you’ll keep hydrated with bottled water for the warmer Hawke’s Bay climate. If you’re expecting a winery tour or lots of deep walking, adjust your expectations before you go.
In This Review
- Key Things to Know Before You Go
- Four Hours That Cover Napier, Te Mata Peak, and Hastings
- Price and Value: What You Get for $86.88
- Where You Meet in Napier and How Pickup Usually Works
- Napier Art Deco Drive: Earthquake Rebuild to Photo-Friendly Streets
- Arataki Honey Visitor Centre: Tastings and Kiwi-Plant Stories
- Bluff Hill Lookout and Te Mata Peak: Two Views, One After the Other
- Bluff Hill Lookout (about 30 minutes)
- Te Mata Peak (about 1 hour)
- Tukituki River Drive to Hastings: Orchards, Vineyards, and Fruit Farming Talk
- Group Size, Comfort, and the Walking Level
- Guides Matter: What to Expect from the People Behind the Wheel
- Should You Book This Hawke’s Bay Shore Excursion?
- FAQ
- How long is the Hawke’s Bay, Napier Art Deco tour?
- What does the tour cost?
- Where do I meet the tour?
- Is bottled water included?
- Which major stops are included?
- Is Te Mata Peak included?
- How big is the group?
- What happens if weather is poor?
Key Things to Know Before You Go
- A fast overview of Hawke’s Bay in about four hours, with multiple high-impact photo stops
- Te Mata Peak’s big 360-degree viewpoint without needing to hike far
- Arataki Honey Visitor Centre stop with included tastings and product shopping time
- Bluff Hill Lookout adds a “from here you can spot your ship” moment
- Hastings quick hit focused on fruit growing and NZ’s orchard-vineyard way of life
- Bottled water included, which is a small comfort that matters on a cruise day
Four Hours That Cover Napier, Te Mata Peak, and Hastings
This tour is built for the classic cruise-day problem: you have limited hours, but you still want more than a single beach and a photo at the biggest attraction sign. The plan is smart—Napier first for the Art Deco story, then out to the viewpoints, then across to Hastings for a quick feel of how the region earns its living.
You’ll spend a lot of time seeing from the road and at short stops. That’s not a drawback by default—on a time-crunched day it’s the whole point. Just remember: you’re buying an efficient overview, not a slow, lingering “pick one neighborhood and get lost” experience.
A few more Napier tours and experiences worth a look
Price and Value: What You Get for $86.88
At $86.88 per person for a roughly 4-hour guided day, you’re paying for three things: a local driver-guide, a structured route across multiple towns, and scheduled time at viewpoints and a honey visitor centre. You’re also not walking all day—so you’re paying more for guided access than for self-guided entry tickets.
A key value point: bottled water is included, and the itinerary includes stops with admissions covered (like Te Mata Peak and the honey visitor centre). For cruise passengers, that convenience matters—especially when you don’t want to rent a car or stitch together rides on the fly.
The “premium” label is worth thinking about. Some people are happiest when every stop has lots of time on the ground; this one keeps each stop purposeful and short. If your idea of premium is more time at fewer places, you might want to compare alternatives.
Where You Meet in Napier and How Pickup Usually Works
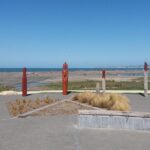
This tour starts and ends in Napier at Napier iSite Visitor Information Centre, 100 Marine Parade, Napier South. The location is easy to spot on arrival days, and the meeting point is listed as open all day on the provided dates—helpful if your cruise docking time shifts.
Pickup is offered, and the tour uses a mobile ticket. In plain terms: be ready to confirm your exact pickup instructions early, then show up a little early. A couple of the issues mentioned around this tour weren’t about the route itself—they were about meeting confusion when cruise shuttles don’t drop you exactly where you expect.
My practical advice: if you’re connecting via port shuttles, don’t assume the driver knows your exact tour name. Tell them the destination and stick to the written instructions for the tour’s first meeting point.
Napier Art Deco Drive: Earthquake Rebuild to Photo-Friendly Streets
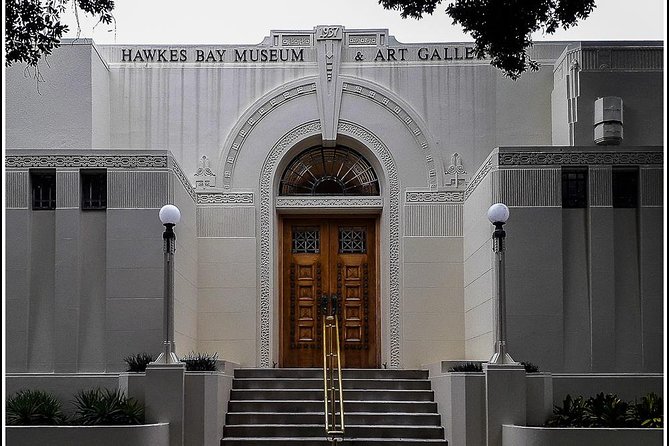
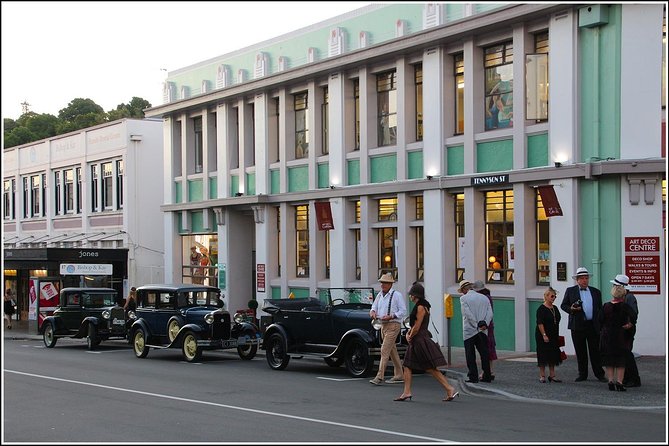
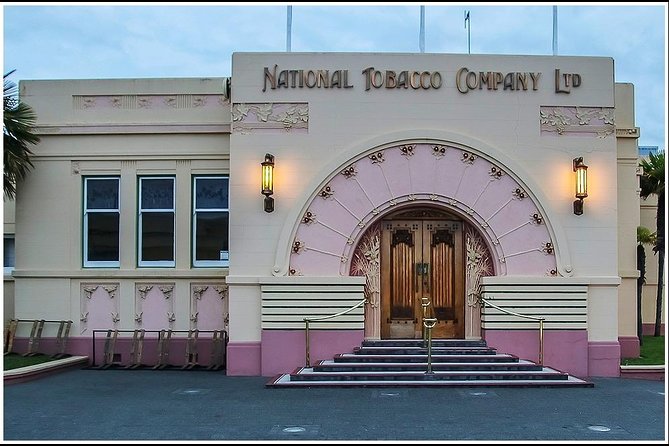
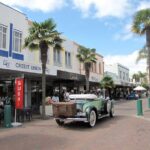
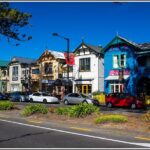
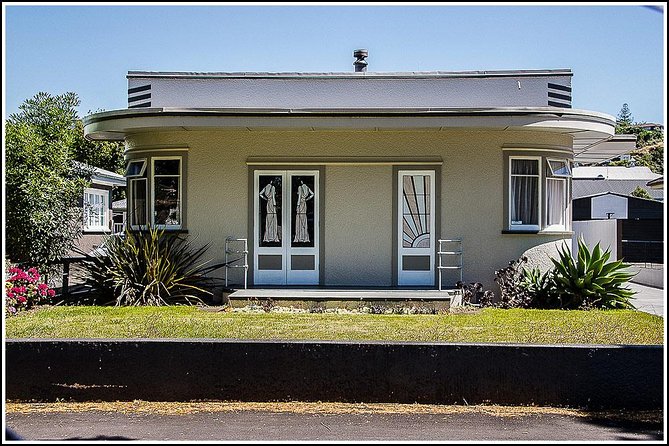
Napier’s Art Deco story is the reason this excursion sells so well. The tour gives you a guided drive around Napier’s central areas so you can photograph the buildings and learn why so much of the city’s character looks the way it does today.
There’s a particular emphasis on how Napier rose again after the earthquake—because without that context, Art Deco can look like just stylish facades. With the story, you start seeing it as a statement: the city rebuilt itself with ambition and design.
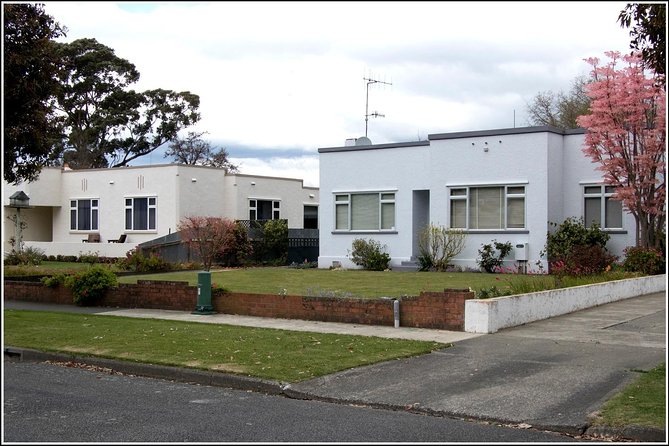
Expect about 40 minutes dedicated to Napier city highlights, with lots of chances to stop for photos while the guide explains what you’re looking at. You’ll see a mix of commercial and residential Art Deco along the way, which helps the architecture feel real instead of staged.
A quick expectation check: this is not a walking architecture tour. You’re seeing a lot from the van, then capturing your favorites while you can.
Arataki Honey Visitor Centre: Tastings and Kiwi-Plant Stories
Then you shift gears to something hands-on: Arataki Honey Visitor Centre. You’ll have around 30 minutes here, and you’ll get time to buy New Zealand honey if you want souvenirs that actually taste like the place.
What makes this stop stand out is that it isn’t just about honey jars on shelves. Guides often bring it to life with stories—like honey tasting and facts about kiwi plants and how they’re cultivated (yes, it’s a fun pairing you wouldn’t expect on an Art Deco day).
If you like food stops that feel local rather than touristy, this is one of the best parts of the route. It’s short, but it adds character to the day. It also breaks up the driving so you’re not looking at viewpoints the entire time.


Bluff Hill Lookout and Te Mata Peak: Two Views, One After the Other
One of the smartest parts of this itinerary is the way it stacks viewpoints. You get Bluff Hill Lookout first, then you go up to Te Mata Peak later. Together, they give you two different perspectives—city and coastline/valley drama—without making you rush or scramble.
Bluff Hill Lookout (about 30 minutes)
Bluff Hill is where you’ll soak in sweeping views over Napier. One neat moment built into the stop is the chance to look back and spot your cruise ship from up high. That’s the kind of “wait, that’s my ship” moment that makes the whole day feel more connected.
Te Mata Peak (about 1 hour)
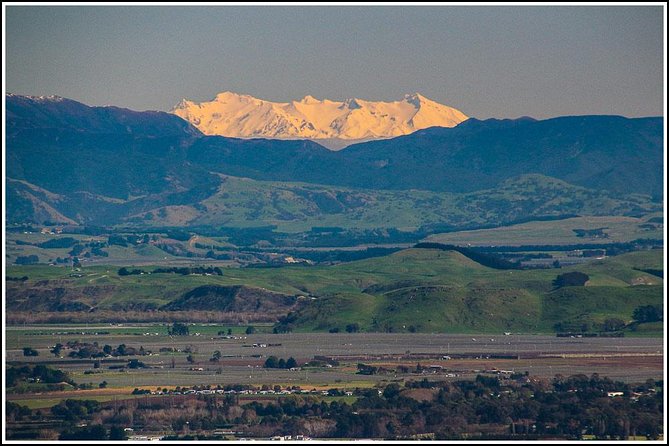
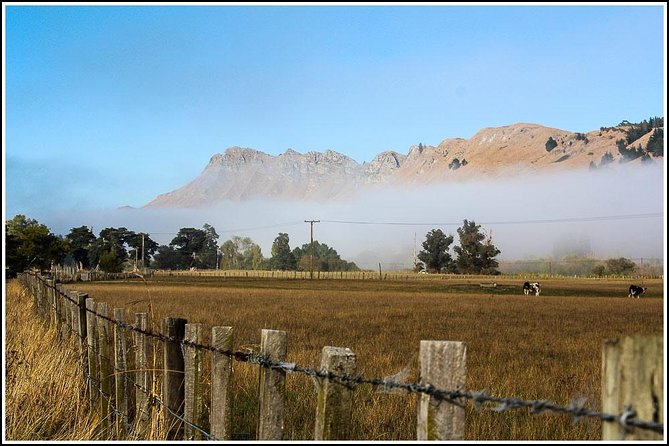
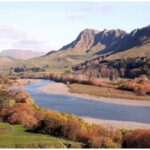
Then comes the big one. Te Mata Peak is described as about 400 meters higher from the ground, and you’ll have about 1 hour to take in a 360-degree view over Hawke’s Bay.
This is the stop you’ll remember later, even if you forget half the driving details. The guide’s role here is about helping you orient yourself—where the bay sits, how the surrounding areas connect, and why the region looks the way it does. If you time it right, you’ll have enough time for photos without feeling like you only arrived long enough to take one shot.
Practical note: bring layers for the top. The day can feel warm down in town but cooler up at the viewpoint.
Tukituki River Drive to Hastings: Orchards, Vineyards, and Fruit Farming Talk
After the viewpoints, the tour slows into scenery and regional life. You’ll drive along the Tukituki River and get about 1 hour of scenic passing views. This part is less about one famous icon and more about seeing the Hawke’s Bay rhythm—hills, water, and farms threading through the area.
Then you head to Hastings for a quick cultural snapshot. The stop is about 20 minutes, with focus on Hastings being awarded NZ’s best town for four consecutive years (as described). You’ll drive through orchards and vineyards, and the guide explains how the fruit industry works here.
This section is valuable because it connects the region’s beauty to its economy. Hawke’s Bay looks like a postcard, but the tour makes it clear it’s also a working agricultural landscape—something you’ll notice more when you’re told what you’re looking at.
Expectation check: this isn’t set up as a winery tasting tour. You’ll see vineyards and orchards from the road, learn the story, then move on.
Group Size, Comfort, and the Walking Level
The tour caps at 22 travelers, and it’s described as a small group experience. In practice, that usually keeps things friendly and photo-stops easier.
That said, you’re in a van for much of the day. Some people found the seating tight, especially on days when the van is full. If you’re tall, you’ll want to sit where you can get comfortable quickly and avoid awkward angles for hours.
Walking is minimal overall. Most of your time happens at stops with short on-foot moments for views, photos, and quick shopping at the honey centre. If you prefer to keep your legs fresh for the rest of your vacation, this is a good match.
Guides Matter: What to Expect from the People Behind the Wheel
One of the strongest themes in the tour’s reputation is the guide quality. You could be with someone like Roy, Mark, Sukh, or Kirsti—and the common thread is that they make the route feel personal and local, not like a script read at traffic lights.
The best guiding style here is the one that connects the dots: why Napier’s architecture looks the way it does, what you’re seeing from Bluff Hill, and how Hawke’s Bay became known for fruit and honey products. You’ll get the human side of the region, plus the practical “where are we?” explanations that help you remember what you saw.
Should You Book This Hawke’s Bay Shore Excursion?
Book it if you want a high-yield Napier and Hawke’s Bay overview in one half-day: Art Deco history, a honey stop, and two of the best viewpoints in the area (Bluff Hill and Te Mata Peak). It’s especially good for cruise passengers and anyone who wants to see more than one town without organizing transport.
Skip it or compare other options if you need long stops, lots of walking, or a full winery program. This tour is built around driving and short photo-and-view moments. Also, double-check meeting-point details before cruise day—most trouble that shows up for this kind of tour tends to be logistics, not the scenery.
If your goal is to come away with strong photos and a real sense of Napier and Hawke’s Bay in a few hours, this is a solid bet.
FAQ
How long is the Hawke’s Bay, Napier Art Deco tour?
The tour is about 4 hours.
What does the tour cost?
It’s $86.88 per person.
Where do I meet the tour?
You meet at Napier iSite Visitor Information Centre, 100 Marine Parade, Napier South, Napier 4110.
Is bottled water included?
Yes, bottled water is included.
Which major stops are included?
The tour includes Napier Art Deco areas, Arataki Honey Visitor Centre, Bluff Hill Lookout, Te Mata Peak, a drive along the Tukituki River, and a Hastings stop.
Is Te Mata Peak included?
Yes. Te Mata Peak is included with time to enjoy the 360-degree views.
How big is the group?
The tour has a maximum of 22 travelers.
What happens if weather is poor?
The experience requires good weather. If it’s canceled due to poor weather, you’ll be offered a different date or a full refund.